
US Airborne
Painting the Fallschirmjagers has slowed right down as I'm yet to figure out how to paint a good looking splinter camo so like all good wargamers I switched to another (easier) project. |
| A couple squads of US Airborne laying around in the sun. |
- HQ Squad including (Lieutenant, Medic, Radioman and Forward Observer).
- 2 Squads of 10 men including NCO, 2 Bar and a mix of SMG, Rifles and Carbines.
- 30 Cal LMG team.
- 50 Cal HMG team.
- Sniper team (upright and prone).
- Light Mortar team.
Terrain
Roads, I cut these out of 5mm MDF and glued sand onto them and then painted them with a latex paint. Nice and easy, maybe and hours work all up.


I've got some "wobbly" river pieces cut out just waiting for some attention but I'm just trying to find and easy way of building the banks up a little so they don't look so flat.
Tanks and Vehicles
Just a teaser shot of the tanks I've finished: Sherman M4 Sherman, M4 Sherman 76mm, Stug III Ausf.B, Tiger I and a Warlord Sd.Kfz 250/1 Neu Halftrack.
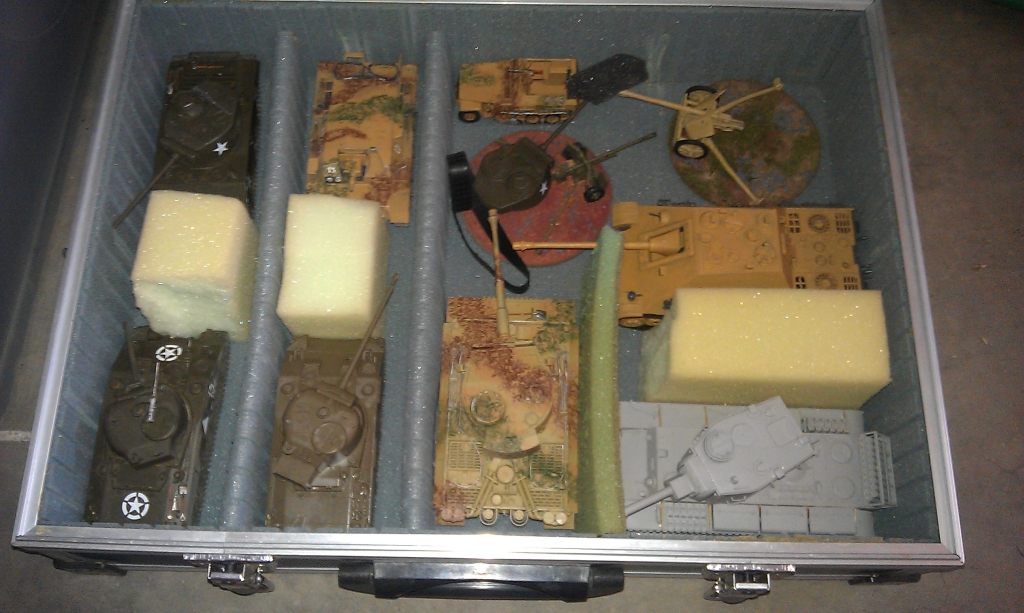
I'll get some more photos of these up in the next couple days, but I must warn you now that the decals may not be accurate for a vehicle operating in North West Europe and the camouflage has been completely made up.
Anyway I'm off to go play another game of Bolt Action.


